
 |

• Wood Alphabet
Letter (I used an A that was already painted white)
• FolkArt Multi-Surface Paints Lavender, Fresh Cut Grass and Deep Ocean Blue
• Gloss Mod Podge
• Mod Podge Spouncer
• Mod Podge Peel & Stick Stencil - Tangier
• Mod Molds – Nature (I used the butterflies)
• Mod Melts
• Mod Podge Squeegee
• Miscellaneous Supplies: Container for water, stencil brush, waxed paper, scissors, white craft glue, 3/4” Flat brush, Paper towels, Foam plate for palette, Pencil, Scrapbook paper, and a soft bristled brush

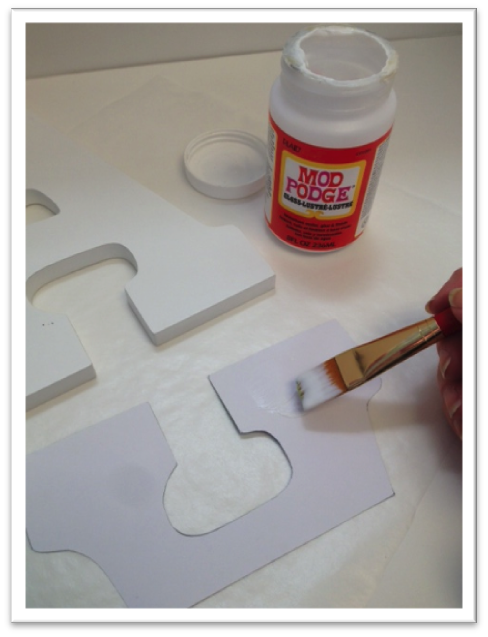
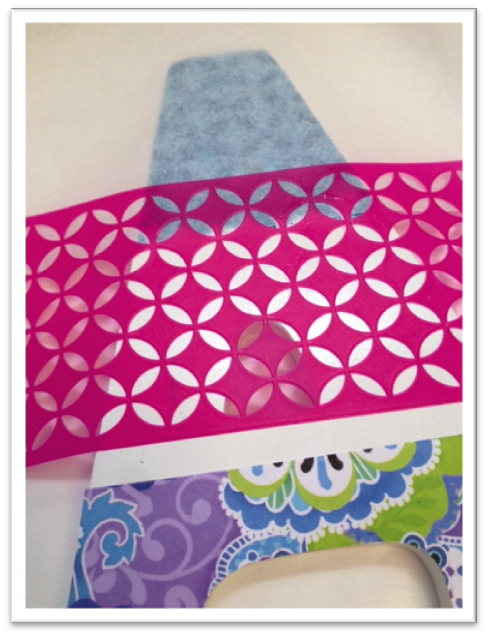
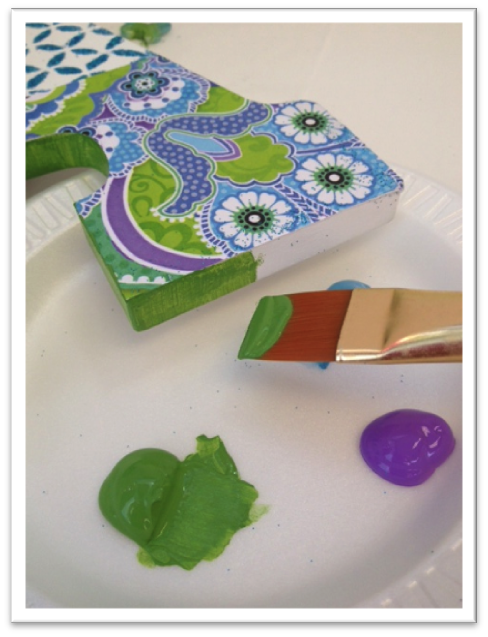
Using
a 3/4" flat brush loaded with Gloss Mod Podge, brush the Mod Podge on
the backside of the paper as well as the front side of the letter. You
will be placing “glue to glue” to adhere the paper to the wood letter.
Place the cut paper directly onto the letter and press in place using
your fingers - See more at:
http://www.plaidonline.com/blog/post/2014/01/13/How-to-Use-Mod-Podge-Peel-Stick-Stencils#sthash.6fRCTGmx.dpuf
Using
a 3/4" flat brush loaded with Gloss Mod Podge, brush the Mod Podge on the
backside of the paper as well as the front side of the letter. You will
be placing “glue to glue” to adhere the paper to the wood letter. Place
the cut paper directly onto the letter and press in place using your fingers
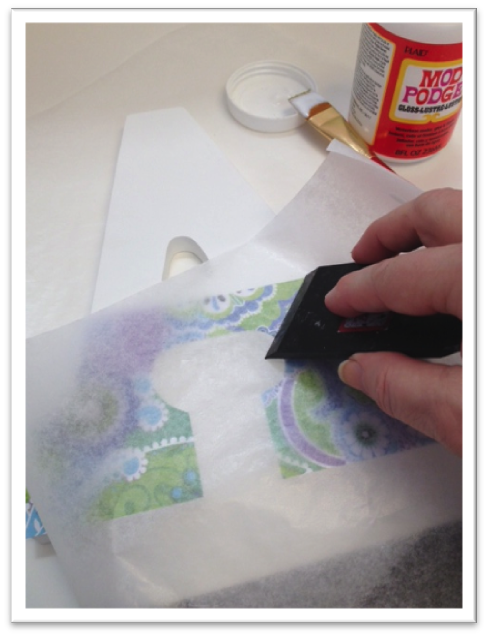
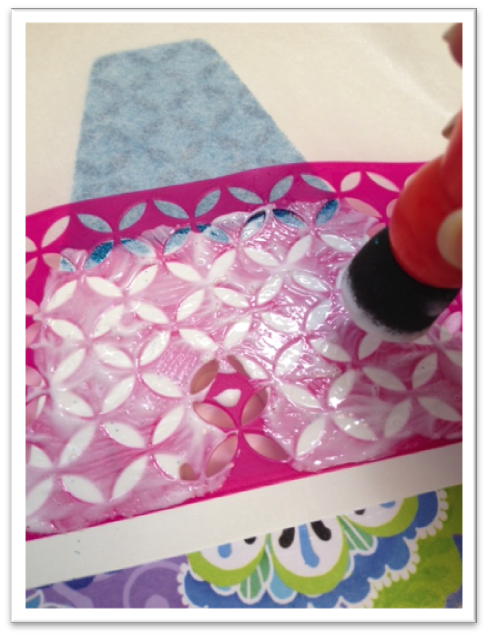
Cover
the decoupaged paper with a piece of waxed paper and smooth over the surface with
a Mod Podge squeegee using light, even pressure to remove excess Mod Podge and
release any caught air bubbles. Remove waxed paper and allow to dry 10 –
15 minutes. Brush over the paper section with a smooth, even application
of Mod Podge to seal and then allow to dry
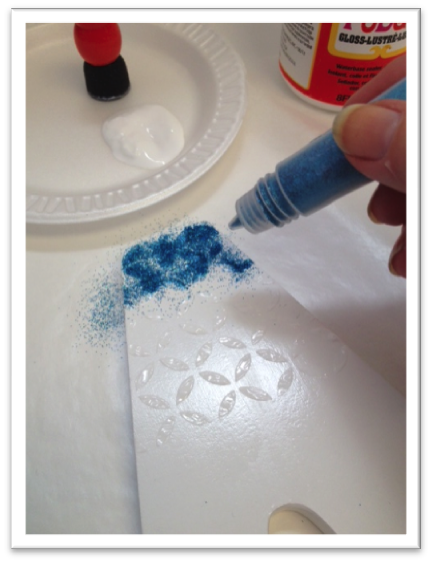
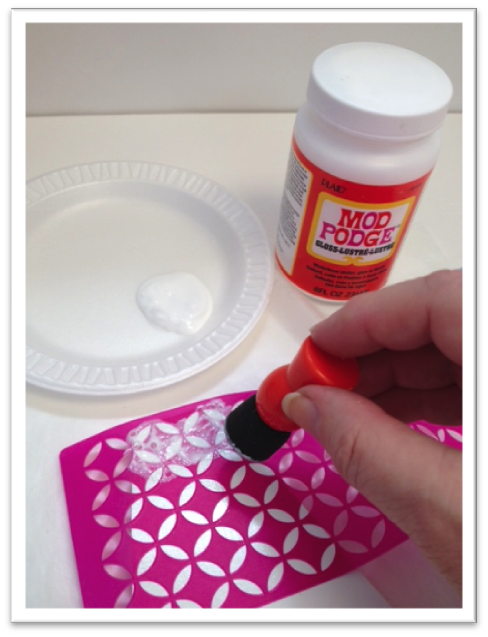
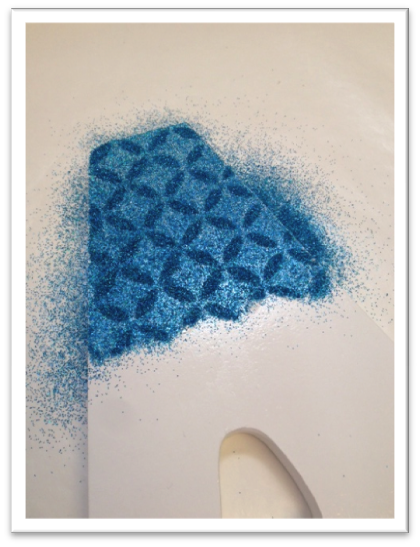
If
your project surface is larger than the stencil, then you will need to repeat
the design. Here is a tip for you… lay a clean section of waxed paper
over the stenciled and glittered area, then place the Peel & Stick stencil
in place. You not only will keep the backside of the adhesive stencil
clean but you will also not disturb the previously decorated area. And
here’s another tip, I like to rinse to clean my stencil between uses.
After rinsing, simply blot it dry before laying it over the surface again.
Continue applying until the surface is covered.
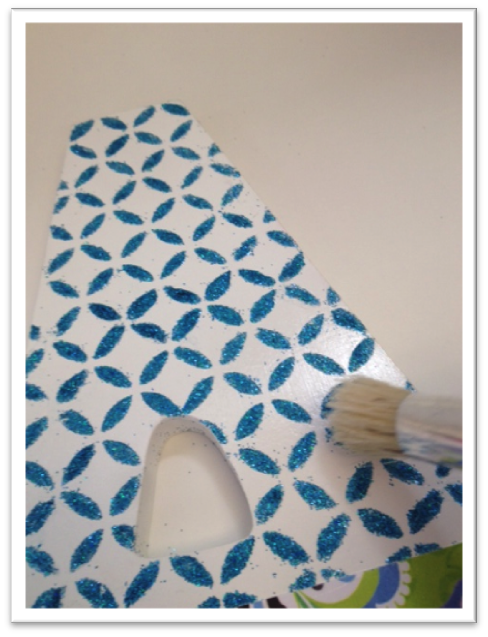
Using a soft brush to clear away the excess glitter.
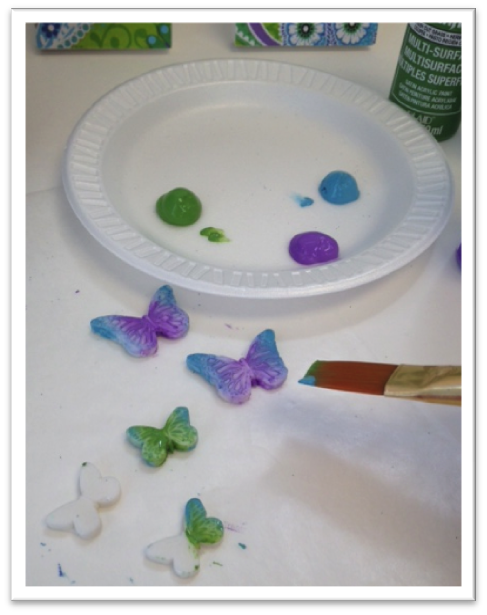
Paint the butterfly Mod Melts as you desire. I
used FolkArt Multi-Surface paint and painted the two large butterflies Deep
Ocean Blue and Lavender. The smaller ones are Fresh Cut Grass and Deep
Ocean Blue or you can get butterflies or flowers at the scrapbook sections and glue them on.
Finish with painting the ends with the color of your choice. You can also use glitter.
This should be a fun project, use your imagination as to the design. Don't get worried if you can't find the exact materials. Go with the flow.
For more information or ideas just follow the link:http://www.plaidonline.com/blog/post/2014/01/13/How-to-Use-Mod-Podge-Peel-Stick-Stencils
Until we meet
again,
Claudia
No comments :
Post a Comment