
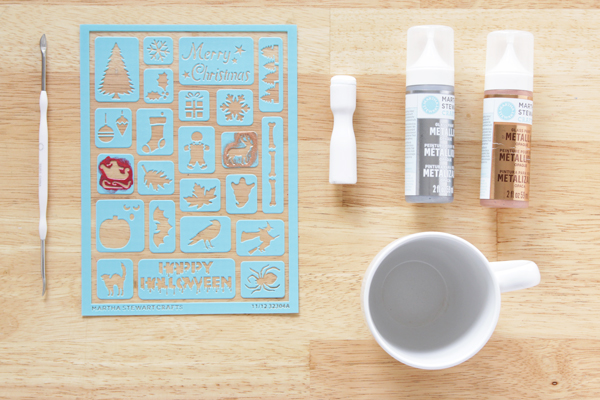
Supplies
glass paint in copper and pewter
paint daubers
paint brush
self-adhesive leaf stencils
scraper/razor blade (optional – for fixing mess ups)
plain mug
craft mat/waxed paper
paint daubers
paint brush
self-adhesive leaf stencils
scraper/razor blade (optional – for fixing mess ups)
plain mug
craft mat/waxed paper
Directions
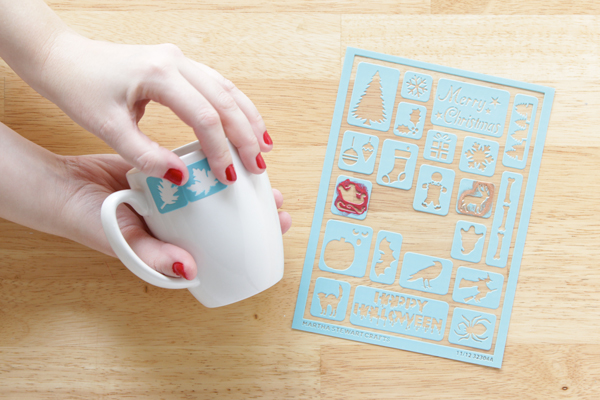
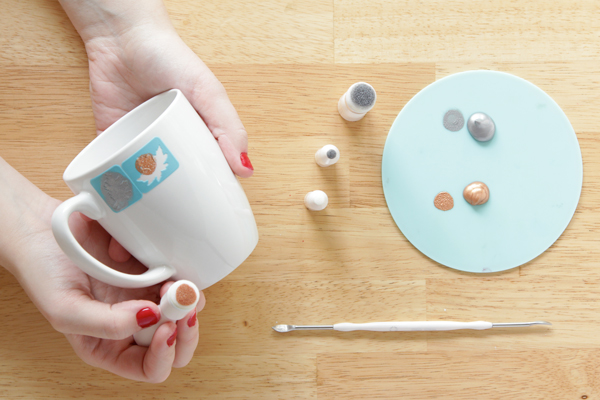
Clean and dry your mug to start. Then, place your leaf stencil(s) on the mug, smoothing down all edges.
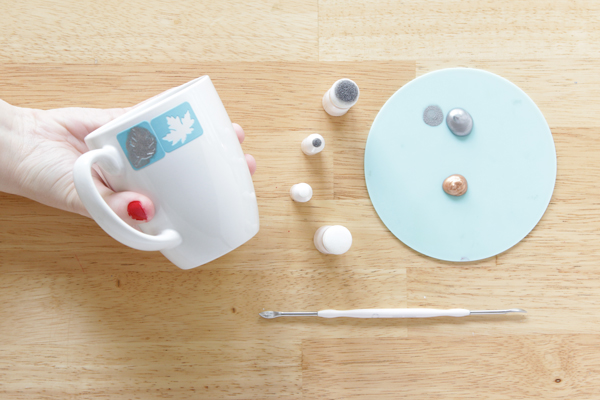
Squirt a bit of each color of your glass paint onto a crafting mat or some waxed paper. Dip a paint dauber into the paint, and dab it onto a dry spot on your craft mat to remove excess paint. Once the excess paint is removed, carefully apply the paint to a leaf stencil
Some tips for stenciling success:
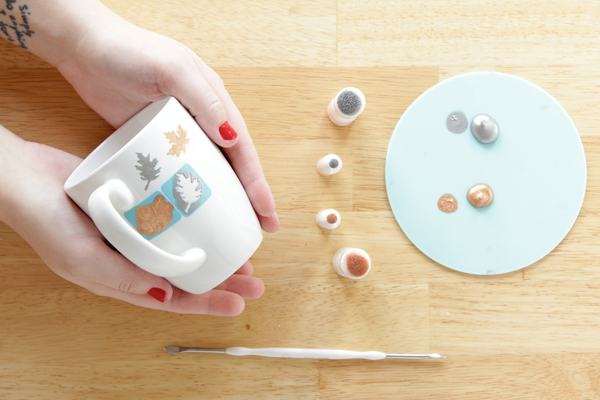
- Dab your daub… Dab off excess paint from your dauber before applying it to the stencil. Too much paint is going to make successfully stenciling harder.
- Don’t forget the nooks and crannies… If necessary, use a paint brush or smaller dauber to cover every nook and cranny with paint.
- You messed up, so what? A razor blade, used carefully of course, can easily slice off one of your stenciled leaves if you’re not happy with the placement of your leaf.
- Keep your stencils clean… If you’re alternating just a couple stencils like I did, the paint will build up every few applications. Wash off your stencils, scraping away excess paint, when that happens. Your leaves will turn into misshapen blobs if the paint builds up within the stencil.
- Don’t let the paint dry before removing the stencil. No really – the paint I used tended to stick to the stencil, pulling off the whole leaf design in a sheet. Pull off that stencil when the paint is still a little damp before reusing it to stencil your next leaf.
All of the supplies I used happen to be from the Martha Stewart line of glass paints, tools & stencils, but this isn’t a sponsored post.
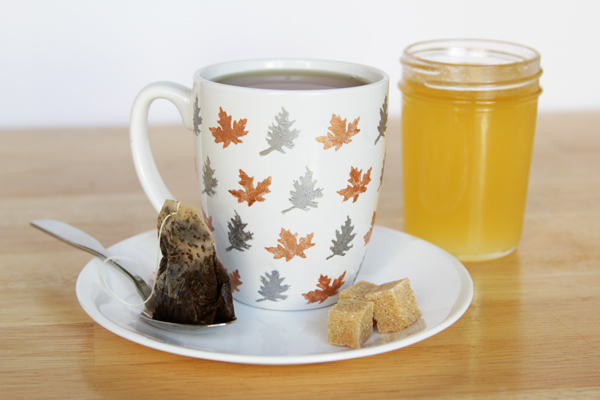
And, in case you want to save this for later, here’s a pin-friendly image for you:

No comments :
Post a Comment